Spring Boot 的核心配置文件及案例分析
动力节点一、入门案例分析
1)Spring Boot 的父级依赖 spring-boot-starter-parent 配置之后,当前的项目就是 SpringBoot 项目
2)spring-boot-starter-parent 是一个 Springboot 的父级依赖,开发 SpringBoot 程序都需要继承该父级项目,它用来提供相关的 Maven 默认依赖,使用它之后,常用的 jar包依赖可以省去 version 配置
3)Spring Boot 提供了哪些默认 jar 包的依赖,可查看该父级依赖的 pom 文件
4)如果不想使用某个默认的依赖版本,可以通过 pom.xml 文件的属性配置覆盖各个依赖项,比如覆盖 Spring 版本
<properties>
<spring-framework.version>5.0.0.RELEASE</ spring-framework.version >
</properties>
5)@SpringBootApplication 注解是 Spring Boot 项目的核心注解,主要作用是开启Spring 自动配置,如果在 Application 类上去掉该注解,那么不会启动 SpringBoot程序
6)main 方法是一个标准的 Java 程序的 main 方法,主要作用是作为项目启动运行的入口
7)@Controller 及 @ResponseBody 依然是我们之前的 Spring MVC,因为 Spring Boot的里面依然是使用我们的 Spring MVC + Spring + MyBatis
二、Spring Boot 的核心配置文件
Spring Boot 的核心配置文件用于配置 Spring Boot 程序,名字必须以 application 开始
1、核心配置格式
1).properties 文件(默认采用该文件)
在 002-springboot-springmvc 项目基础上,进行修改
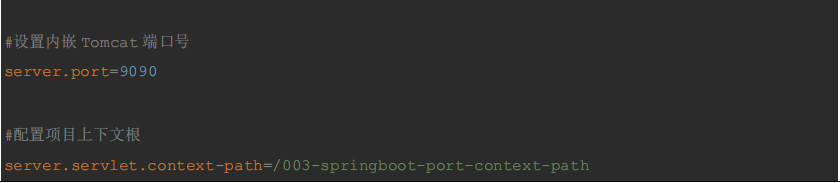
项目名称:003-springboot-port-context-path
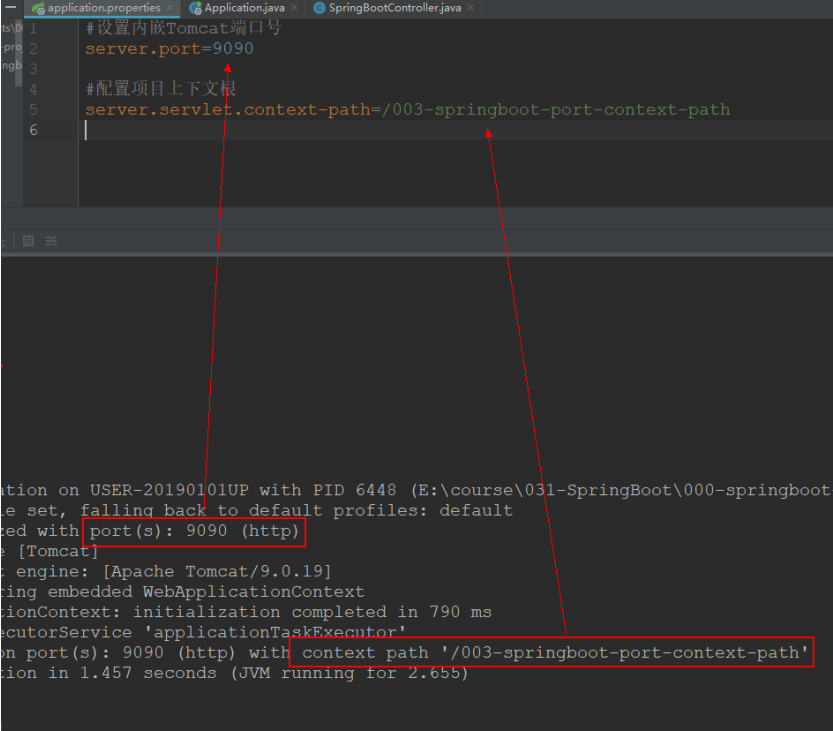
通过修改 application.properties 配置文件,在修改默认 tomcat 端口号及项目上下文件根键值对的 properties 属性文件配置方式
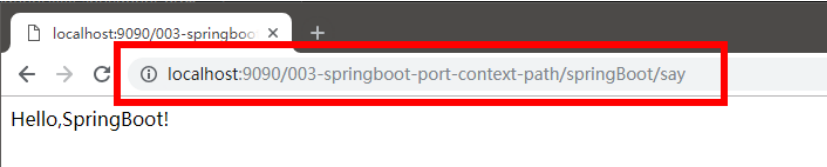
配置完毕之后,启动浏览器测试
页面显示结果
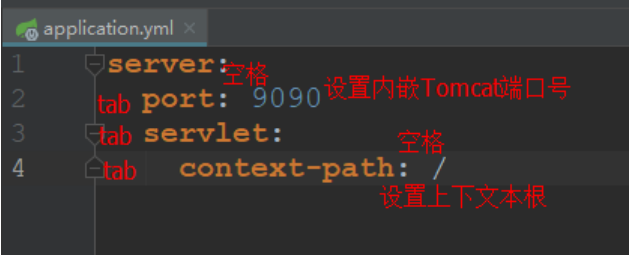
2).yml 文件
项目名称:004-springboot-yml,在 003 项目基础之上
yml 是一种 yaml 格式的配置文件,主要采用一定的空格、换行等格式排版进行配置。
yaml 是一种直观的能够被计算机识别的的数据序列化格式,容易被人类阅读,yaml 类似于 xml,但是语法比 xml 简洁很多,值与前面的冒号配置项必须要有一个空格, yml 后缀也可以使用 yaml 后缀
注意:当两种格式配置文件同时存在,使用的是.properties 配置文件,为了演示 yml,可以先将其改名,重新运行 Application,查看启动的端口及上下文根

我们以后在授课的过程中,使用 properties,所以演示完 yml 效果后,将该配置文件改名
2、多环境配置
在实际开发的过程中,我们的项目会经历很多的阶段(开发->测试->上线),每个阶段的配置也会不同,例如:端口、上下文根、数据库等,那么这个时候为了方便在不同的环境之间切换,SpringBoot 提供了多环境配置,具体步骤如下
1)项目名称:005-springboot-multi-environment
为每个环境创建一个配置文件,命名必须以 application-环境标识.properties|yml
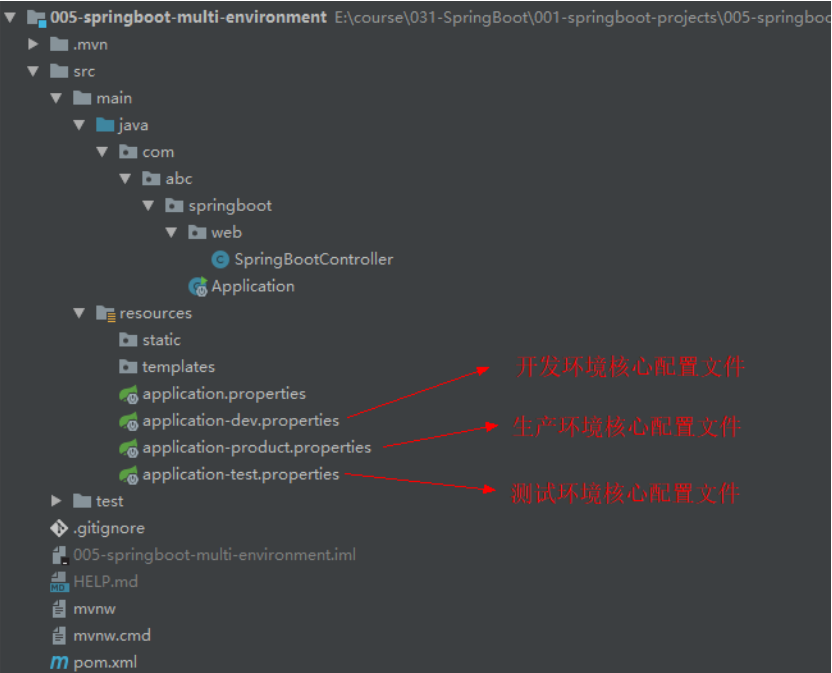
application-dev.properties
application-product.properties

application-test.properties
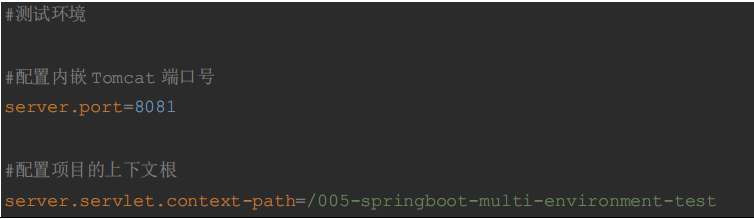
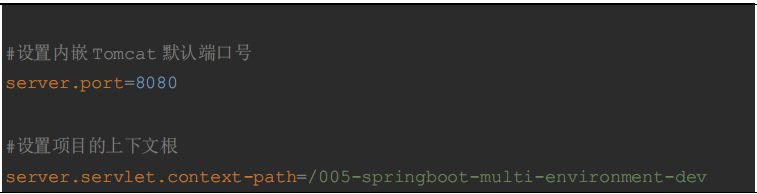
在总配置文件 application.properties 进行环境的激活
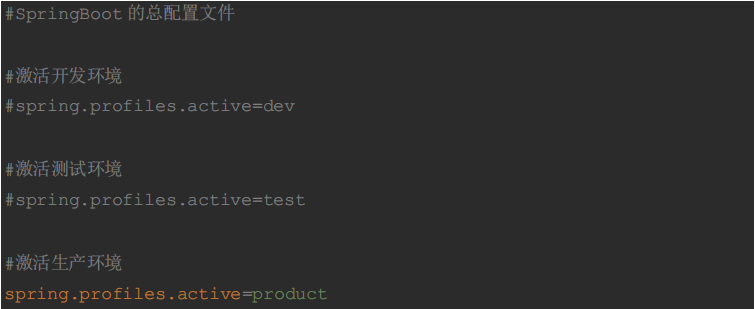
等号右边的值和配置文件的环境标识名一致,可以更改总配置文件的配置,重新运行Application,查看启动的端口及上下文根
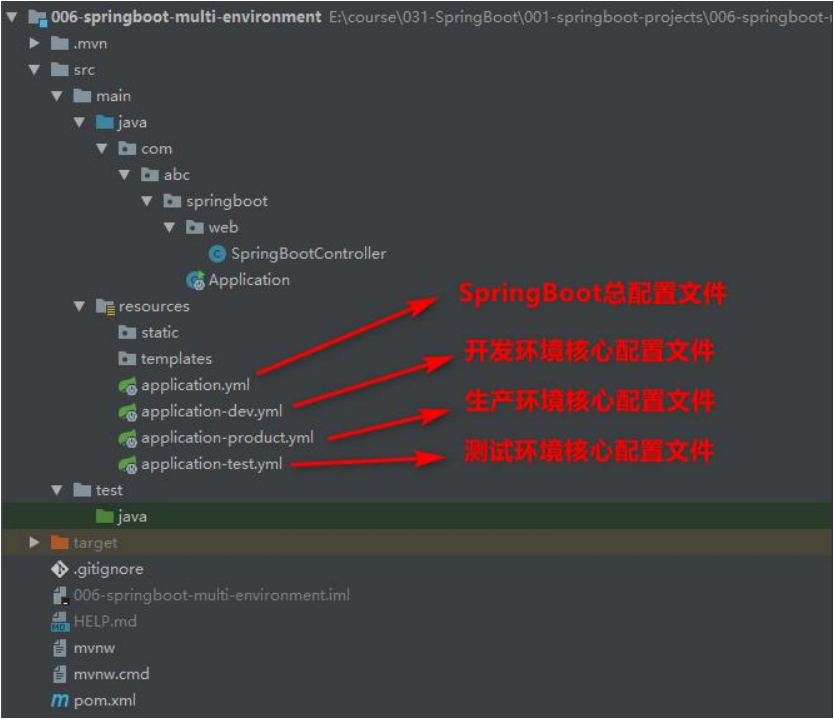
2)项目名称:006-springboot-multi-environment
为每个环境创建一个配置文件,命名必须以 application-环境标识.properties|yml
[page][/page]
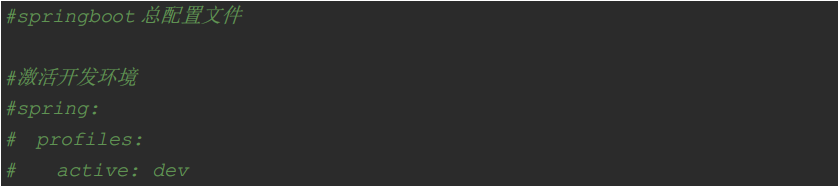
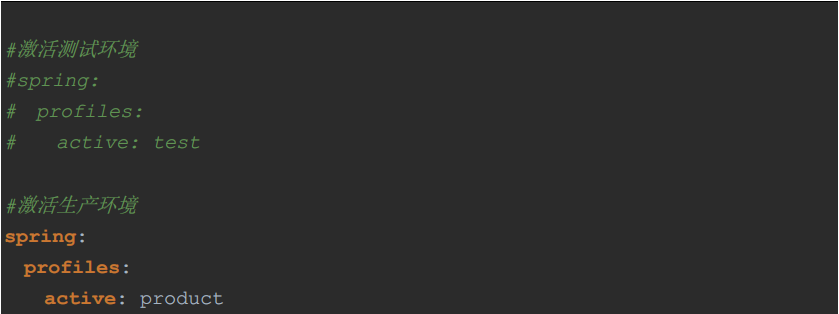
SpringBoot 总配置文件:application.yml
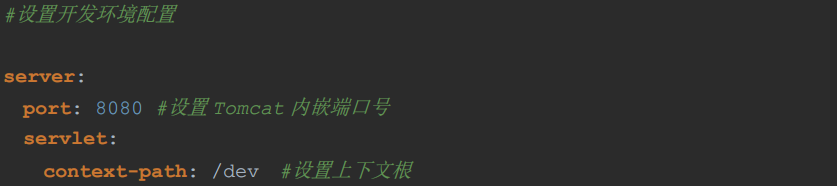
开发环境配置文件:application-dev.yml
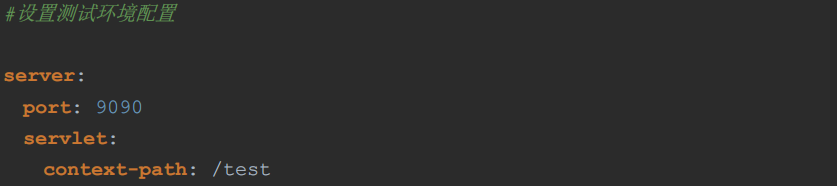
测试环境配置文件:application-test.yml
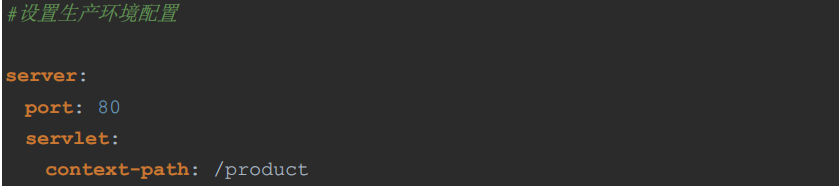
生产环境配置文件:application-product.yml
3、Spring Boot 自定义配置
在 SpringBoot 的核心配置文件中,除了使用内置的配置项之外,我们还可以在自定义配置,然后采用如下注解去读取配置的属性值
1)@Value 注解
A、 项目名称:007-springboot-custom-configuration用于逐个读取 application.properties 中的配置
案例演示
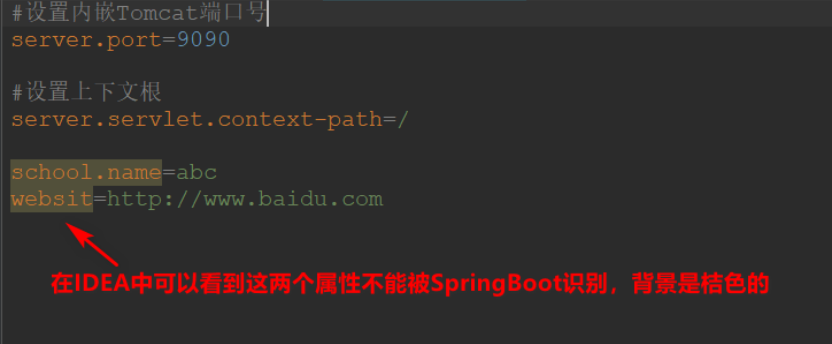
? 在核心配置文件 applicatin.properties ,添加两个自定义配置项 school.name 和website。在 IDEA 中可以看到这两个属性不能被 SpringBoot 识别,背景是桔色的
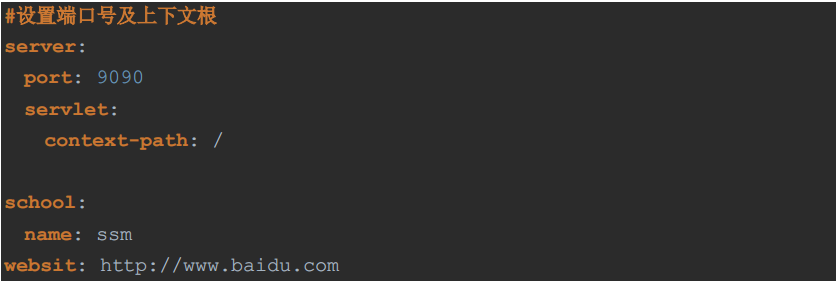
application.yml 格式配置文件
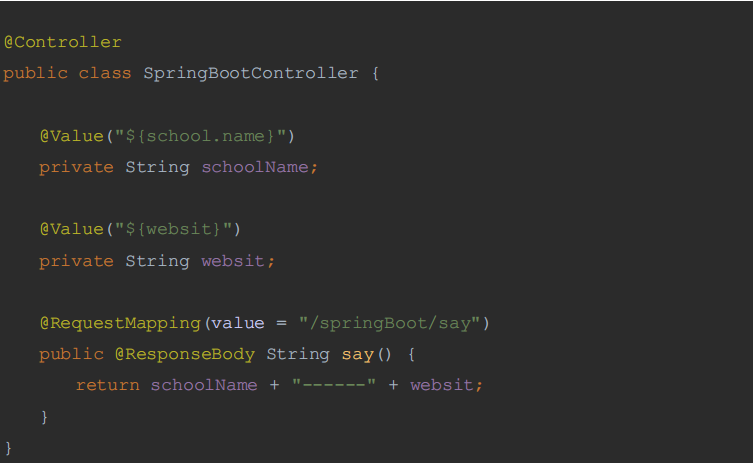
? 在 SpringBootController 中定义属性,并使用@Value 注解或者自定义配置值,并对其方法进行测试
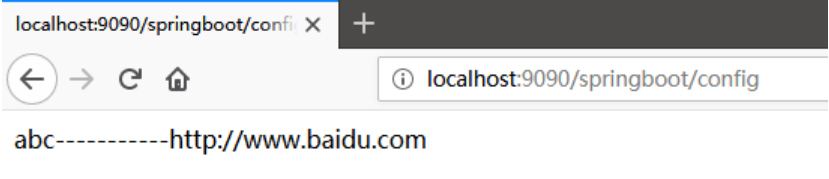
? 重新运行 Application,在浏览器中进行测试
2)@ConfigurationProperties
项目名称:008-springboot-custom-configuration
将整个文件映射成一个对象,用于自定义配置项比较多的情况
案例演示
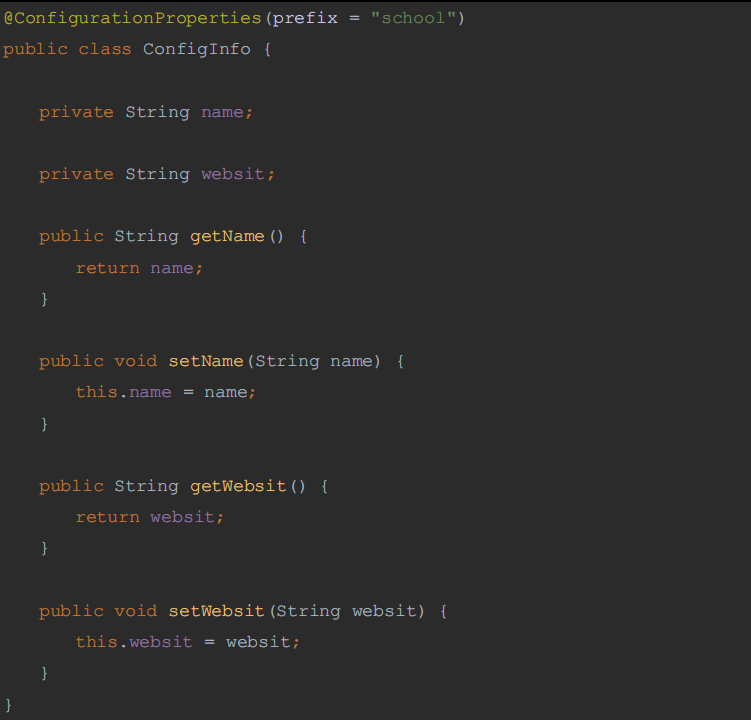
? 在 com.abc.springboot.config 包下创建 ConfigInfo 类,并为该类加上 Component 和ConfigurationProperties 注解,并在 ConfigurationProperties 注解中添加属性 prefix,作用可以区分同名配置

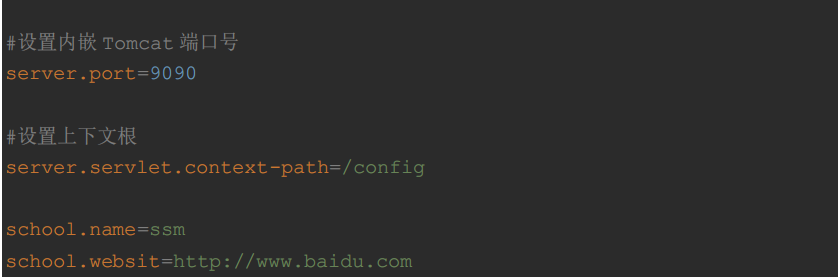
application.properties 配置文件
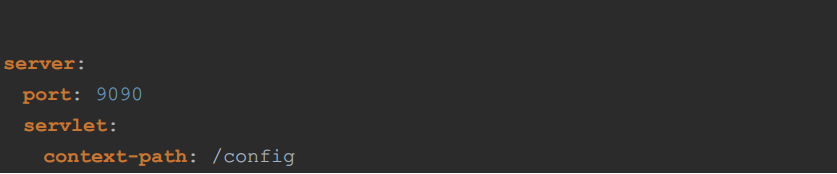
application.yml 配置文件

? 在 SpringBootController 中注入 ConfigInfo 配置类

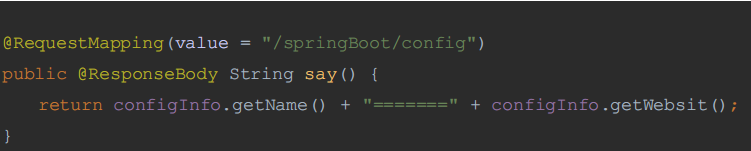
? 修改 SpringBootController 类中的测试方法
? 重新运行 Application,在浏览器中进行测试
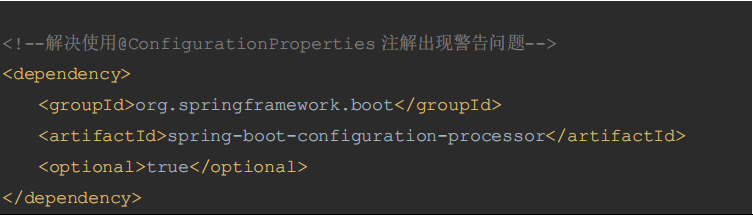
3)警告解决
? 在 ConfigInfo 类中使用了 ConfigurationProperties 注解后,IDEA 会出现一个警告,不影响程序的执行
? 点击 open documentnation 跳转到网页,在网页中提示需要加一个依赖,我们将这个依赖拷贝,粘贴到 pom.xml 文件中

4)中文乱码
如果在 SpringBoot 核心配置文件中有中文信息,会出现乱码:
? 一般在配置文件中,不建议出现中文(注释除外)
? 如果有,可以先转化为 ASCII 码

5)友情提示
大家如果是从其它地方拷贝的配置文件,一定要将里面的空格删干净
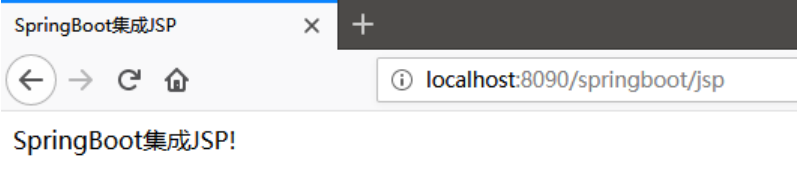
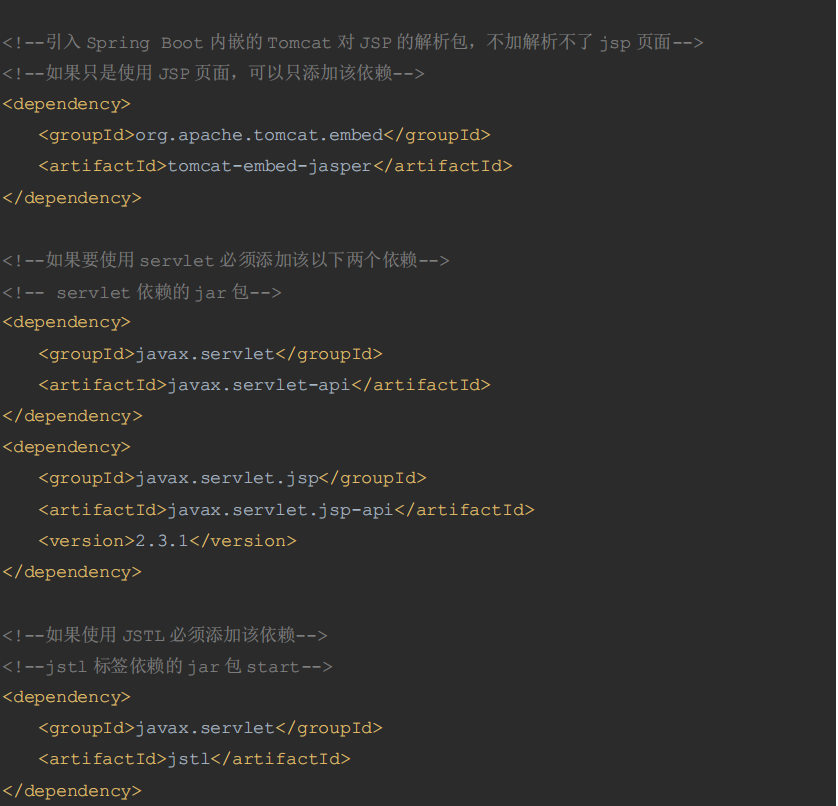
5、Spring Boot 前端使用 JSP
项目名称:009-springboot-jsp
在 pom.xml 文件中配置以下依赖项
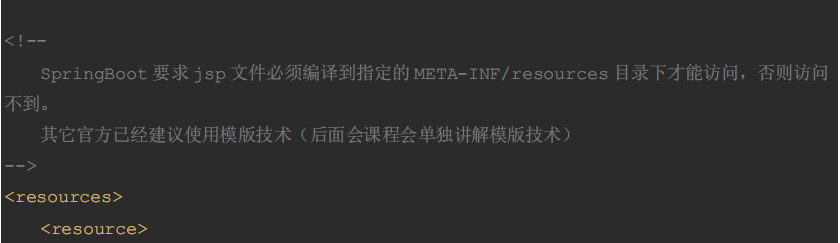
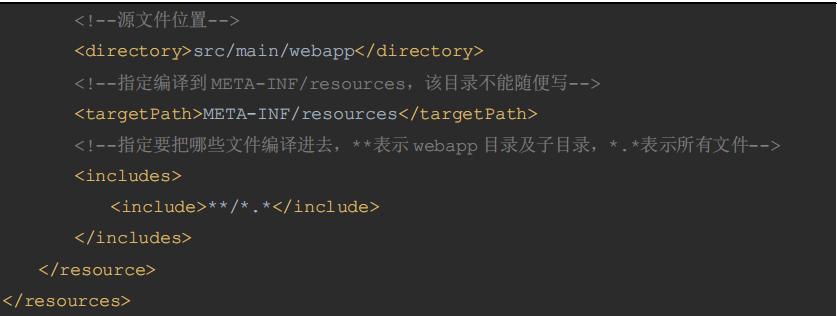
1)在 pom.xml 的 build 标签中要配置以下信息
SpringBoot 要求 jsp 文件必须编译到指定的 META-INF/resources 目录下才能访问,否则访问不到。其实官方已经更建议使用模板技术(后面会讲模板技术)
、
2)在 application.properties 文件配置 Spring MVC 的视图展示为jsp,这里相当于 Spring MVC 的配置
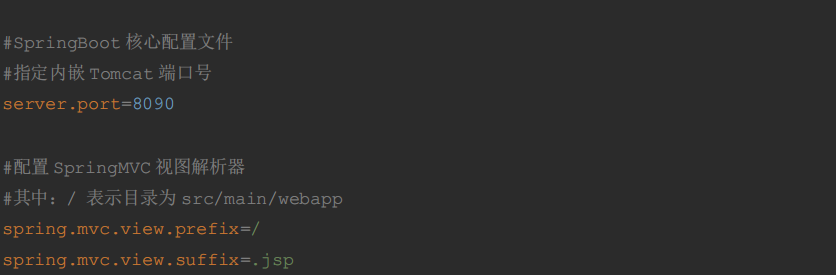
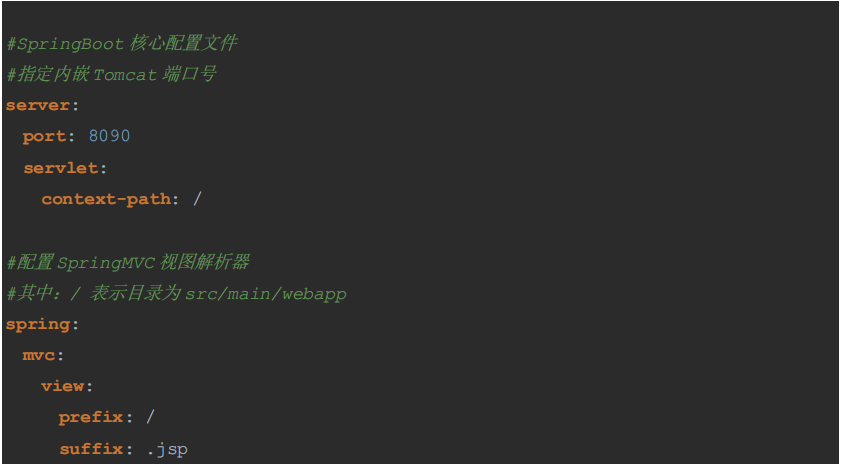
集成完毕之后,剩下的步骤和我们使用 Spring MVC 一样application.yml 格式的配置文件
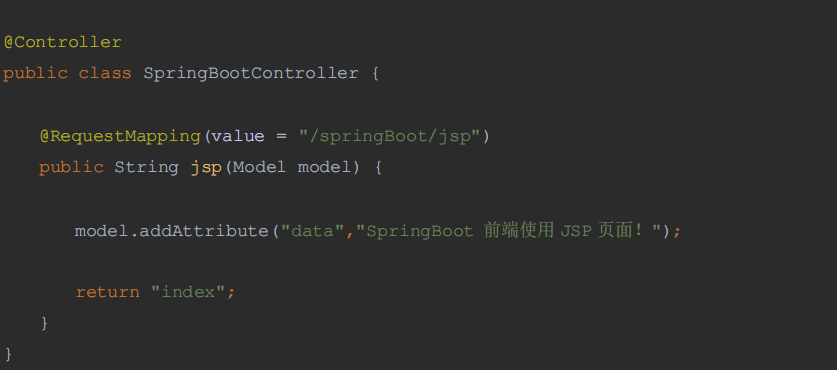
3)在 com.abc.springboot.controller 包下创建 JspController 类,并编写代码
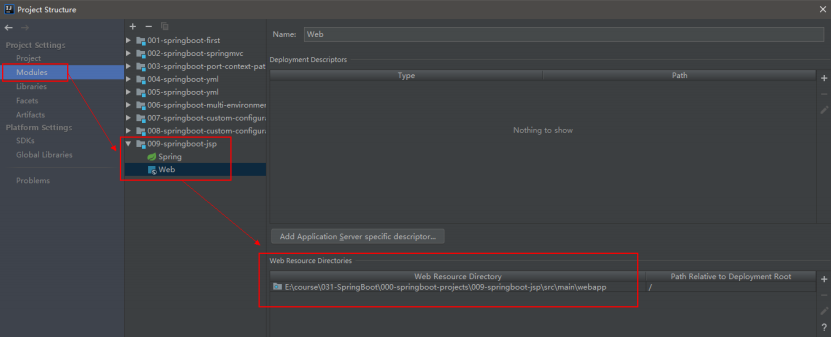
4)在 src/main 下创建一个 webapp 目录,然后在该目录下新建index.jsp 页面 ,如果在webapp目录下右键,没有创建jsp的选项,可以在Project Structure中指定webapp为 Web Resource Directory
5)在 jsp 中获取 Controller 传递过来的数据
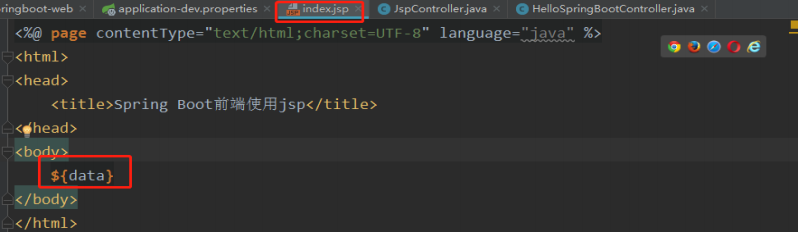
6)重新运行 Application,通过浏览器访问测试