如何实现以头部姿势移动鼠标?
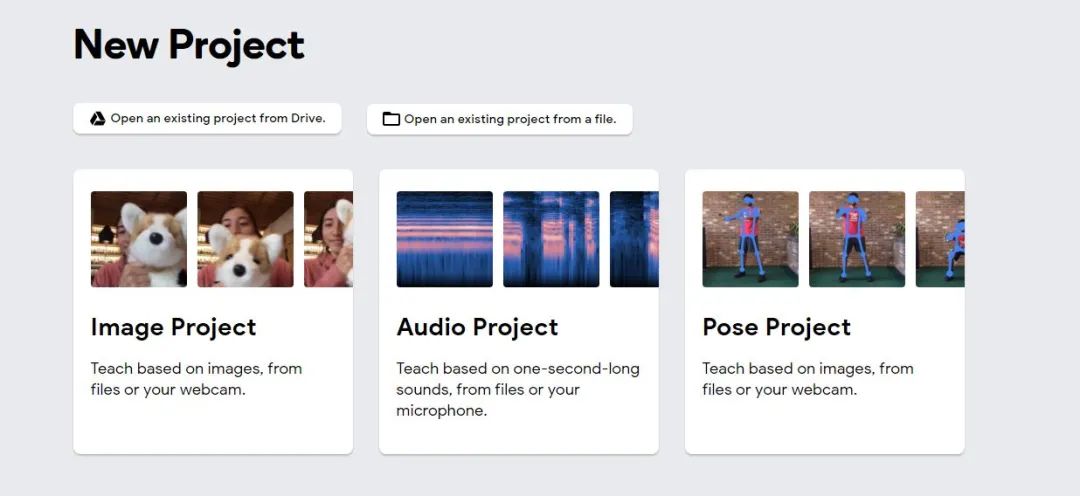
磐创AI介绍在本文中,将会详细介绍如何使用卷积神经网络(深度学习)和名为pyautogui的鼠标/键盘自动化库来创建Python程序,实现以头部姿势移动鼠标。我们之所以使用pyautogui,是因为它是简单易用的Python库,以编程方式控制计算机的各种组件。下面将介绍有关如何使用此库的更多详细信息。首先,我们必须创建一个深度学习模型,该模型可以将你当前的头部姿势分为5种不同的类别,即中(未指示方向),左,右,上和下。Google Teachable MachineGoogle Teachable Machine是Google免费的无代码深度学习模型创建网络平台。使用该平台你可以构建模型来对图像,音频甚至姿势进行分类。完成上述操作后,你可以下载经过训练的模型并将其用于你的应用程序。你可以使用Tensorflow或PyTorch之类的框架来构建自定义的卷积神经网络,或者如果你想要一种简单的无代码方式进行此操作,则可以使用 Google Teachable Machine(https://teachablemachine.withgoogle.com/)平台为你完成相同的操作。

选择“Image Project”并命名示例,然后记录你的照片与相应的头部姿势。你可以设置默认的超参数,然后进行模型训练。
提示:尝试记录相对于摄像机的不同深度和位置的头部姿势照片,以免造成数据过拟合,导致预测不佳。接下来,我们可以使用同一页面的“Preview”部分来查看已训练模型的性能,并决定是否将其用于程序或使用样本训练更健壮的模型。
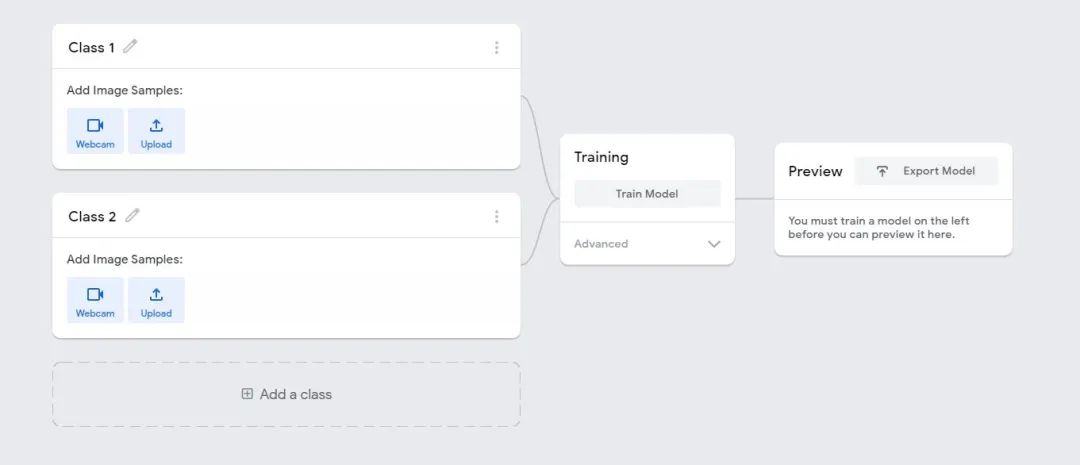
完成上述步骤后,下载模型权重。权重将以“ keras_model.h5”的格式下载。程序现在,让我们将其与能够移动鼠标的程序结合起来。让我们看一下代码:# Python program to control mouse based on head position # Import necessary modules
import numpy as np
import cv2
from time import sleep
import tensorflow.keras
from keras.preprocessing import image
import tensorflow as tf
import pyautogui
# Using laptop’s webcam as the source of video
cap = cv2.VideoCapture(0)
# Labels — The various outcome possibilities
labels = [‘Left’,’Right’,’Up’,’Down’,’Neutral’]
# Loading the model weigths we just downloaded
model = tensorflow.keras.models.load_model(‘keras_model.h5’)
while True:
success, image = cap.read()
if success == False:
break
# Necessary to avoid conflict between left and right
image = cv2.flip(image,1)
cv2.imshow(“Frame”,image)
# The model takes an image of dimensions (224,224) as input so let’s
# reshape our image to the same.
img = cv2.resize(image,(224,224))
# Convert the image to a numpy array
img = np.array(img,dtype=np.float32)
img = np.expand_dims(img,axis=0)
# Normalizing input image
img = img/255
# Predict the class
prediction = model.predict(img)
# Close all windows if one second has passed and ‘q’ is pressed
if cv2.waitKey(1) & 0xFF == ord(‘q’):
break
# Release open connections
cap.
# Close all windows if one second has passed and ‘q’ is pressed
if cv2.waitKey(1) & 0xFF == ord(‘q’):
break
# Release open connections
cap.release()
cv2.destroyAllWindo
release()
cv2.destroyAllWindows()
你还可以在此处找到代码和权重。https://github.com/Sharan-Babu/Control-Mouse-with-Head-Pose-pyautogui函数的说明:pyautogui.moveTo(current_x-80, currently, duration=1)
上面的代码使鼠标从当前位置向左移动80个像素,并花费1秒钟的时间进行相同操作。如果未设置duration 参数,则鼠标指针将立即移动到新点,从而消除了移动鼠标的影响。current_pos = pyautogui.position()
current_x = current_pos.x
current_y = current_pos.y
第一行获取鼠标的x和y坐标值。最后,释放打开的连接。本文我们实现了一个端到端的深度学习模型,该模型可以从用户那里获取输入视频,程序在读取视频时,会根据你的头部姿势对每个图像进行分类,并返回相应的预测,使用此预测,我们可以采取适当的操作,将鼠标移至头部指向的方向。你可以通过添加自定义功能来单击鼠标,而无需实际触摸计算机的鼠标,从而进一步改进我们刚刚构建的项目,同时你也可以在Google Teachable Machine上为此训练另一种深度学习模型。
